Sword Forging Guide for +1 Forge Blade Loot
What you need and what to do to forge a sword in +1 Forge Blade Loot: clicking power, dungeon ore runs, the three-ore minimum at the lobby forge, and the trace-and-hammer steps that reveal your new blade.
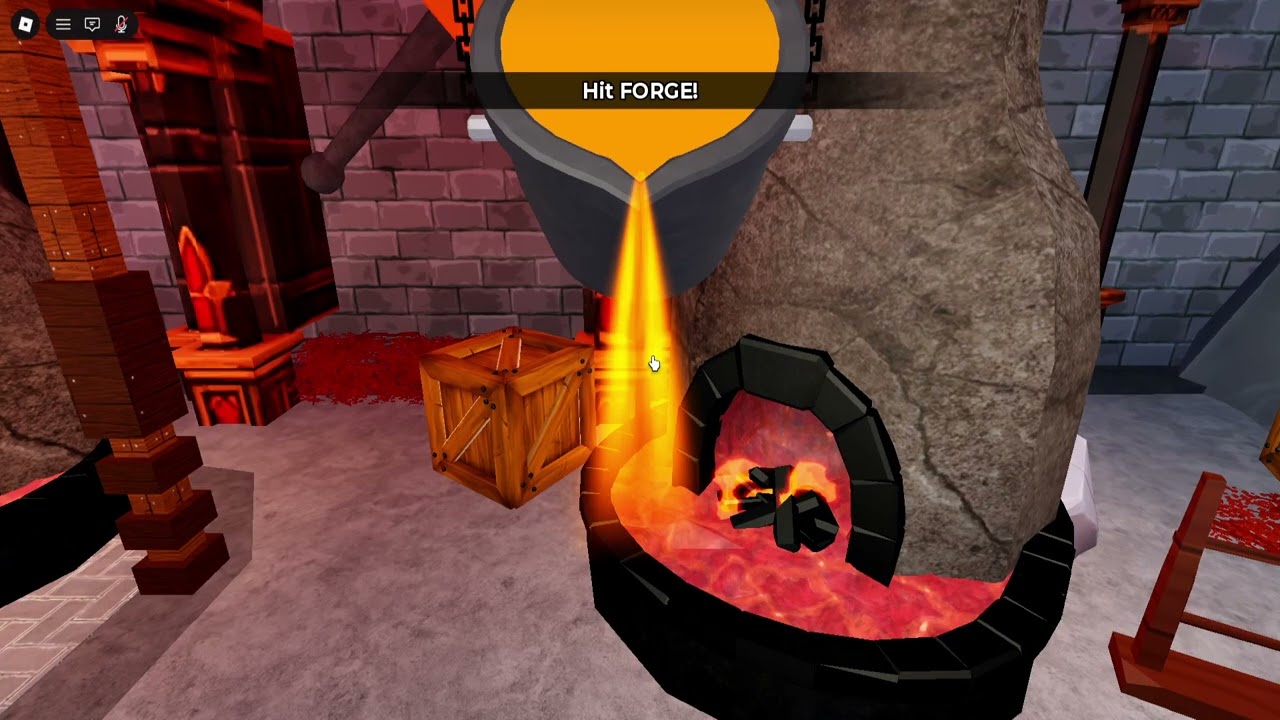
You forge a sword at the forge in the lobby, and the whole verified cycle is short: click to train power, clear a dungeon stage and collect the ore its monsters drop, return to the lobby, pick the weapon category, insert at least three ores while watching the displayed sword-type odds, trace the design, make the sharpening pass, then hammer the blade until the result is revealed. This guide walks through each step, the requirements the game visibly enforces, and what to do with the sword once it lands in your weapons menu.
What you need before you can forge
Clicking power. Clicking to train is the only way to gain power, and it does double duty: extra power feeds the forge (a stronger click means you shape the next sword sooner) and dungeon stages display power requirements that gate entry — one stage demanded 288 power, a later one 2,000. You can even keep clicking to train while inside the dungeon, and Power Potions help you grind it. If more power is your bottleneck, the click training guide covers that loop in depth.
Ores from monsters. Monsters in dungeon stages drop ore when killed, and the drop does not collect itself — you have to walk over and pick the material up before you leave. Higher stages yield higher-tier ore, and your bag caps how much you carry out of a run; one early run ended with 5 ores collected. The monster drops page details what each stage's enemies leave behind.
Three ores, minimum. The forge refuses to work with fewer. A player who switched to the shield category for an early craft was blocked with a "requires at least three ores" wall — the same floor the sword flow enforces.
Forging a sword, step by step
- Train power until the stage you want opens. The requirement is displayed on the stage, and if you fall short mid-dungeon, keep clicking — training works there too.
- Enter the dungeon through the warp gate, fight through the stage, and pick up every ore drop yourself before leaving.
- Return to the lobby. Crafting happens there, not in the dungeon.
- Choose the category at the forge: weapon or shield. The shield option sits directly below the sword option, and the rest of the cycle works the same for both.
- Insert at least three ores. Each ore shows its exact luck multiplier and what it does — power increases, improved weapon quality, improved weapon stats, an extra rune slot or extra attributes — and the UI updates each sword type's chance as your mix changes.
- Trace the sword's design as shown on screen; some designs are simple to follow. Keep the motion steady: one player who moved slowly held the quality meter at 100% through the entire forming pass.
- Make the sharpening pass — it plays more like scraping — then hit the sword until the forge completes. The strikes reveal the rolled result.
Reading the ore mix and the odds
The forge tells you what every input does before you commit. Each ore displays its own luck multiplier, and equal tiers are not equal: among three ores of the same tier, one showed 14x, another 11.5x and a crystal 10.5x. The material list can be sorted by rarity or by multiplier, so your best ores are easy to find. The types you can roll — short sword, long sword, katana and more — are covered in the swords overview.
The displayed type odds respond to the mix. These are changes observed on screen:
| Ore-mix change observed in play | Displayed effect |
|---|---|
| Best single ore equipped, aiming for a Katana | 20% — stuck at 20% no matter how much extra ore was added |
| Swapped to four of a different ore | Katana chance rose to 25% |
| A rare type showing 0%, then 6 matching ores added | Rose to 22% |
| A 7th matching ore added | Reached 24–25% |
Note the ceiling: one player tried to force a Katana to 100% and couldn't. Displayed odds can be nudged, not guaranteed.
Mind the mixing penalty, too. Weak ores blended with strong ones pull the combined luck multiplier toward the middle. In one measured test, three ores gave a 7.33x combined multiplier; adding a fourth dropped it sharply, so the player forged with just three. Another player's rule of thumb was "the more ores, the better, usually." The observable truth sits between them: more matching ores can raise a type's chance, but filler ores can sink the combined multiplier. Trust the two numbers the UI shows you — the combined multiplier and the per-type odds — rather than any fixed ore count.
What you control and what the forge rolls
| You control | The forge rolls |
|---|---|
| Which ores go in, and how many — each ore's multiplier and the per-type odds update as the mix changes | Which sword type you get, decided against the displayed chances |
| How accurately you trace the design — a crooked tracing ends up crooked | Which tier and stat values you get — even a duplicate of a sword you own rolled higher damage than the first |
Tracing precision is squarely yours. On a shield forged through the same flow, a crooked tracing came out crooked and slip-ups landed on different points — keep the line straight and you keep the shape you intended. The deeper shape controls get their own treatment in the sword shaping guide.
The roll is not yours. Type and tier are decided against the displayed percentages, and stat values vary between rolls — one player reforged a sword they already owned and the duplicate came out with more damage.
Inspect, equip, sell, repeat
The finished sword's card shows its tier, damage/power, attack speed, attributes and a value, often a critical stat and skills — one sword carried two skills, one with a 9-second cooldown that could deal up to 400% damage. Early forges show small numbers (an uncommon first sword listed Power 8 and Attack Speed 2.2); lucky late-game rolls reach values in the billions. One caveat on labels: sessions name tiers differently — one showed common through mythical, another Uncommon through Legendary plus Mystic, Special and Challenge — so judge a sword by its stats rather than chasing a specific tier name.
Open the weapons menu to see every forged weapon and shield. From there:
- Equip it. A new sword trains power much faster — one equipped sword took training to 284,000 power per session — so switching swords speeds up the whole loop.
- Sell the spares. Press sell on a sword you don't use to turn it into money.
- Forge again. The cycle feeds itself: better swords train power faster, faster training opens deeper stages, and deeper stages drop better ore.
When the forge won't cooperate
These are the blockers actually observed in play, with their fixes:
- "Requires at least three ores." You're short on materials. Run a dungeon stage and pick the drops up yourself.
- A stage won't let you in. Your power is under the displayed requirement — one player with 1,300 power was locked out of a 2,000-power stage. Keep clicking, inside the dungeon if needed. If your bag fills before you've gathered enough, head back and forge; completing the Index grants a bigger carry bag for future runs.
- The result isn't what you aimed for. The roll decided against you — the displayed odds were never a guarantee. Collect better ores and roll again.
Forging is the engine of the game's loop — click, collect, forge, repeat — the same loop the game advertises as the road to its ultimate sword. Keep the multiplier and odds in front of you, and every step stays verifiable.
Related Guides
Sword Shaping
Trace the forge design steadily to draw your blade; crooked lines stay crooked before the final hit rolls rarity and stats.
Swords & Forge Outcomes
See verified forge outcomes with real sword stats, the forge's shape odds, and which choices change your result.
How to Unlock Traits
Forge with the right ores to unlock Traits: confirmed steps, what the unlock costs, and how to check it worked.
Coins: Earn and Spend
Earn coins by selling the swords you forge, then spend them on Power, Luck and Speed upgrades and armor.